Finding Your Virtual Files (part 2)
On day 12 I talked about Finding Your Virtual Files – I wanted to explain something a little bit more today.
Remember how I said it’s similar to getting directions:
- Where are you starting from?
- Where do you need the file to be for access later?
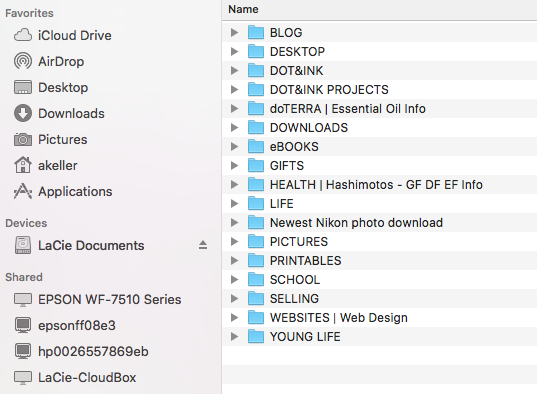
The “starting from” is where you have clicked on the left column. The “where you need the file to be” is in the saving process, and whether you save or save as.

But, when you’re looking at this (or the Windows version) it can look like a whole lot of nothing. Imagine the left column is a hallway with lots of doors.
How do you track which files you’ll find behind which door? Simple: consistency in naming and location.

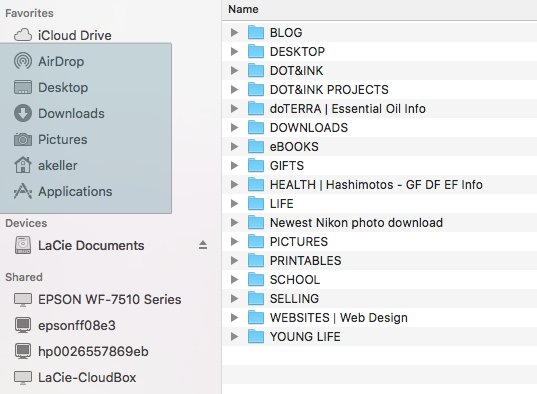
The blue box is over the door into the iCloud Drive. If you’re using a different Cloud based drive, such as Google Drive (Google) or One Drive (MsOffice), you would access those files differently, even though they’re “in the Cloud”; they’re only accessible by logging into the platform (obviously iCloud is Apple, so this is directly accessible from a Mac). Wherever you’re paying for a subscription service for Cloud storage, they will have their own access.
iCloud is Apple’s storage, I have a Mac, so it is an automatic option in my computer. Another way to access iCloud is by going to iCloud.com and signing in there. Anyone can have an iCloud account – have an AppleID? It’s the same log-in info for iCloud.

These are the doors into different “rooms” of the hard drive on my Mac. Again, AirDrop isn’t for storing files, it’s just a portal for transferring files between Apple products (iMac, MBP, iPad, and iPhones) – it’s still considered a door.
If you need a refresher on what those areas are for, you might want to check out my other post.

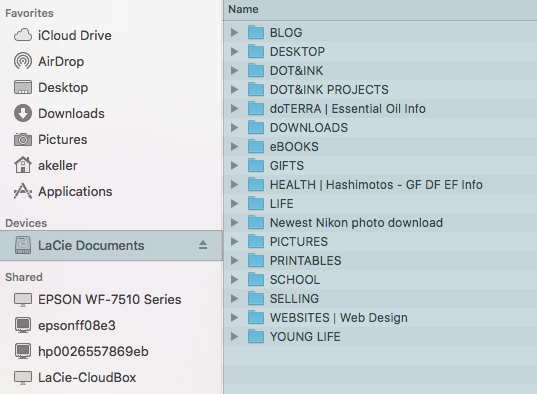
This is the external hard drive. Here I have “opened the door” into the LaCie Documents room. And the right side column is the index of everything in this “room”. If you have two, three, or however many USB ports to have other external drives plugged in, they are just listed here. At the time of this screenshot, I only had one external drive plugged into my computer.
When working on an external hard drive, it’s really important to eject the drive before unplugging it from the computer.
Ejecting the drive is similar to looking at the doorway and making sure nothing is in the way. To not eject & just unplug is to slam the door on whatever might be in the path. This can be no big deal (socks, etc.) – or it could be a really big deal (someones fingers could get slammed in the door). Similarly, to not eject is to risk “slamming a file in the door” – which could corrupt it. In order to eject an external hard drive, you have to close whatever documents you were working on, (and sometimes the programs you were using with those documents). Then eject, otherwise you’ll get an error stating the file is “in use” – this is the same idea as being in the door closing path.
The shared devices are connected by wi-fi. The visibility of these devices are set by each specific device. You don’t eject these, they just lose their wi-fi connection.
When both of my children were in the living room working on school, and their computers were connected to wi-fi, I could see them in the list of “Shared”. <- This is why it is important to pay attention to your security & privacy settings if you do much work on public wi-fi.


